
Video 1: Quick Start Video
Video 2: How to Setup Your Email on Your Cellphone or Tablet (Finding Your App Password)
Video 3: Setting Up Email in Apple Mail
Setting up Multi-Factor Authentication (Detailed Instructions)
-
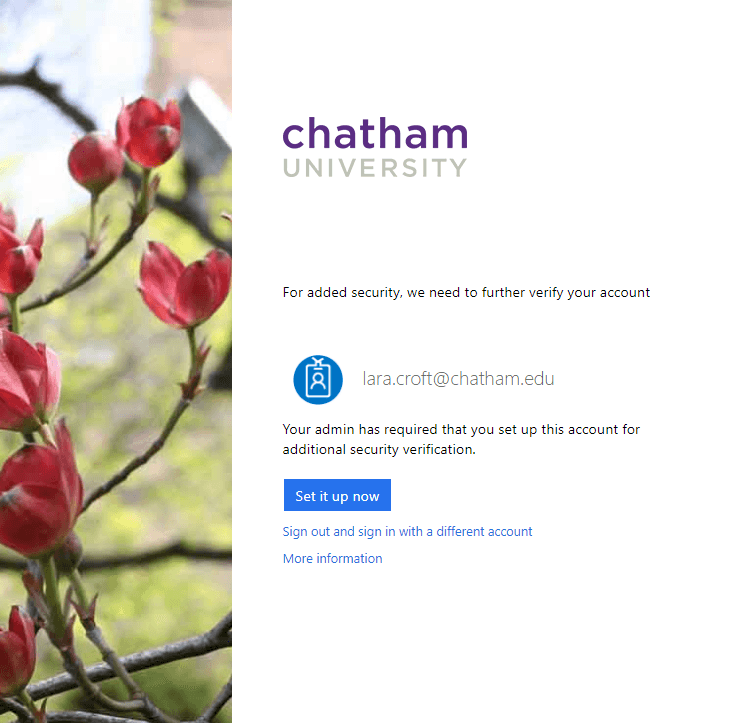
- When your account is activated by your administrator for Multi-Factor Authentication (MFA) on your next login to Office 365 via a web browser, you will be prompted to setup your account for additional security verification. Click the Set it up now button to continue.
 Click on Image to Enlarge
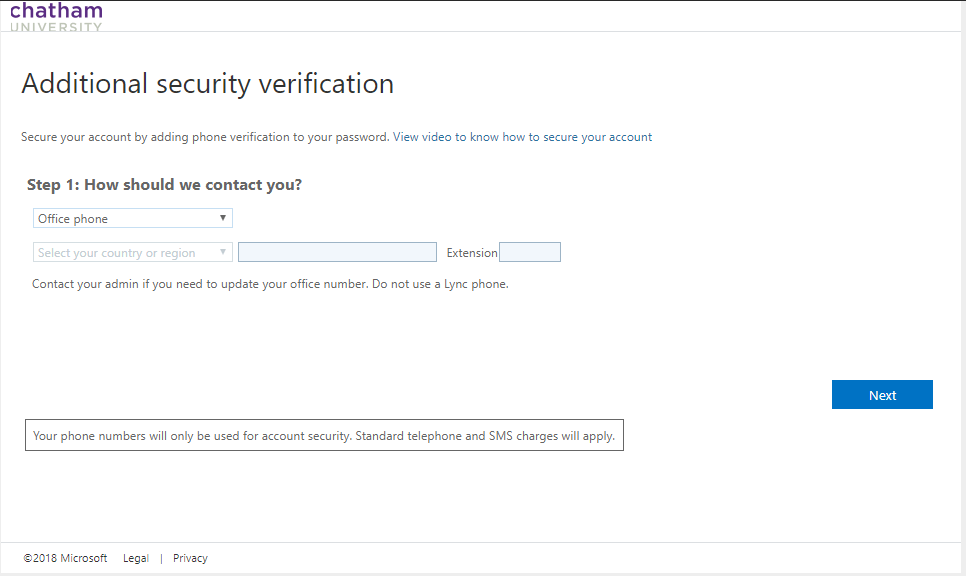
- On the “additional security verification” setup page that opens, you will now choose the contact method you prefer for MFA. Here is a brief description of each method:
- Authentication Phone – receive either a voice call or a text message at the phone number you provide.
- Office Phone – receive a voice call on your office phone number (preset by the organization)
- Mobile App – Using the “Azure Authenticator” app for your iOS or Android device, receive a verification code or notification.
- Select your preferred contact method and follow the appropriate instructions below for the method chosen.
Authentication Mode – Authentication Phone
- After specifying “Authentication phone” as your preferred contact method, specify your mobile phone number using the appropriate country code prefix. Then choose the appropriate mobile phone contact method you prefer, either “Send me a code by text message” or “Call me”. Click Next when complete.

Click on Image to Enlarge
- You will now receive either a call or a text message with a verification code to complete the setup. If you chose to receive text messages, enter the verification code you received and click Verify. If you chose to receive a call, you will receive an automated call prompting you to press the # key to complete verification.
- You’ve now completed setup of multi-factor authentication. Please jump to the end of this guide to the section entitled “Signing in with MFA” to learn about the new sign in experience.
Authentication Mode – Office Phone
- After specifying “Office Phone” as your preferred contact method, you’ll notice your desk phone number should already be populated and you do not have the option to modify. This is because your Administrator has already pre-defined your desk phone number. If the number listed is not correct, please contact your Administrator. Click the Next button to verify your authentication method.
Click on Image to Enlarge
- You will receive an automated call prompting you to press the # key to complete verification.
- You’ve now completed setup of multi-factor authentication. Please jump to the end of this guide to the section entitled “Signing in with MFA” to learn about the new sign in experience.
Authentication Mode – Mobile App
- After specifying “Mobile App” as your preferred contact method, choose how you would like to interface with the mobile app by either selecting “Receive notifications for verification” or “Use verification code”. Here is a further explanation of each option:
- Receive notifications for verification – The mobile app will display a prompt asking you to approve or deny login. You do not have to open the app for this to occur, it will happen automatically when you sign in to Office 365.
- Use verification code – When signing into Office 365 and prompted for MFA, you will need to open the app on your mobile phone and type in the current code displayed. Note that this code changes every 30 seconds.
- Select your preferred mobile app authentication method and click Next to continue setup.
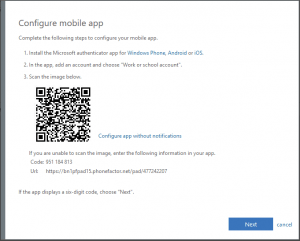
- Regardless of the authentication mode you prefer, you will need to download and install the “Azure Authenticator” app from your mobile device providers store. Once downloaded, open the app and click the + sign to add your account. You’ll be prompted to specify the type of account you are adding. Choose “Work or school account”.
- The app will then prompt you to point your mobile devices camera to the QR code displayed on your computer screen. Once captured the mobile app has completed setup. Note if you cannot use the camera to capture the QR code on your monitor, you can manually enter the code and URL displayed on the screen into the mobile app. Click Next to finish configuration.
 Click on Image to Enlarge

- You should now see a message on the computer signifying that the Mobile app has been configured for notifications and verification codes. Click Next to complete MFA configuration.
- The mobile app will now verify configuration by either sending a notification request or prompting you to enter the current security code based on which authentication method you chose. Follow the steps to either approve the notification or input the current security code.
- Once verified, the computer screen will ask you to input a mobile phone number as a backup in case you lose access to the mobile app. Input your mobile number, then click Next.
- In step 4, you will be shown an App Password. Copy this password to a safe location and keep it readily available. You will need this app password for applications that do not support modern authentication such as the built-in mail clients on Android and iOS devices. When signing into legacy applications and services that do not support modern authentication, use this app password to authenticate.
- Click Done to complete setup.
Signing in with MFA
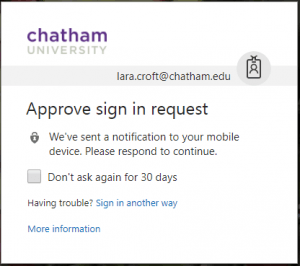
- When signing into Office 365 via a web browser for the first time after configuration MFA, you will see a screen similar to the following:
 Click on Image to Enlarge
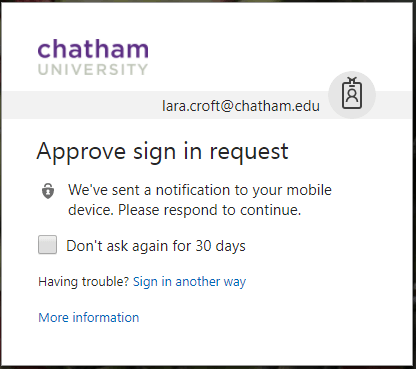
TIP: Clicking the “Don’t ask again for 30 days” will remember the MFA for this device for 30 days. This is a good idea to enable if you are on a device you use every day. If you are signing into a device for the first time and don’t intend to use it again in the future, leave this box unchecked.
- Using the authentication method configured previously, authenticate either via phone, text message or the Azure authentication app. Once you’ve provided the second form of verification, the login will complete, and you will be automatically taken to your Office 365 services.
- If you are signing into a desktop application supporting modern authentication, for instance: Skype for Business, Outlook, etc., you will be prompted to login and provide MFA the next time you launch the application. Sometimes it’s necessary to restart the desktop applications mentioned after setting up MFA.
If you have any problems signing in or if you have any questions, please contact the Helpdesk at 412-365-1112 or https://services.chatham.edu.
Multifactor Authentication (MFA)

