It can be time consuming to manually resize and save images that appear in Word® as an image file. This involves clicking on each image then saving to a specific location. For a document with fifty images, you would have to repeat this fifty times. Sometimes it is also necessary to have the actual image rather than to copy the image from one Word file to another; perhaps a call-out needs added to the image or the image is bound by a style in Word. There are a few ways to extract images from Word documents to a Windows Explorer folder; Converting the document to a .ZIP file, saving the document as a web page, or importing the document to a Help Authoring Tool such as Flare. Once extracted, the files can be opened in a graphics application such as Photoshop or Capture.
If you have another way to extract images from Word documents, please comment and share your knowledge.
Converting Document to .ZIP File:
Note: If an image is inserted in Word and is then cropped, when the .Zip trick is performed the extracted image file will contain the uncropped image at 100% of its original size.
Note: If an image is inserted in Word and is then resized, when the .Zip trick is performed the extracted image file will be at 100% of its original size.
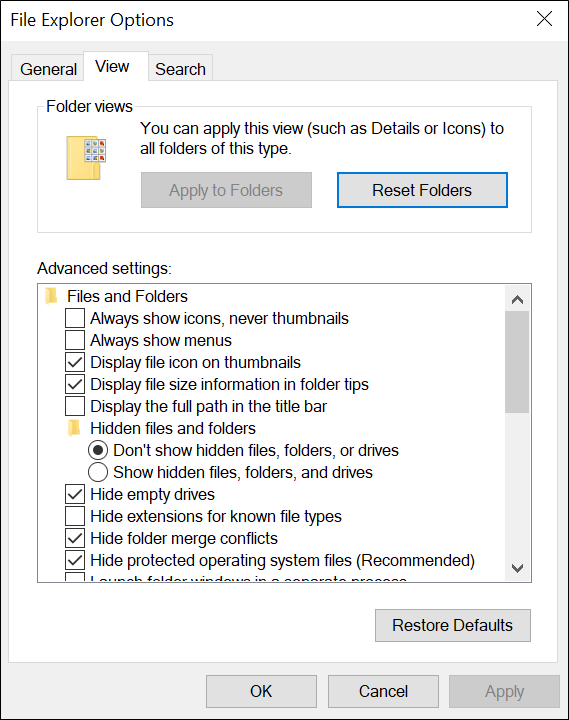
For this to work file extensions cannot be hidden in Windows Explorer. To make file extensions show:
- Click Start menu, then Control Panel.
- Click Appearances and Personalization.
- Click File Explorer Options.
- Click View tab.
- Uncheck the Hide extensions for known file types.
Changing the Word file to Zip.
- Create a copy of the file because the Word file cannot be retrieved from the .ZIP.
- Caution: Once this process is complete, the Word file will no longer appear in Windows Explorer. If you have not made a copy of the Word file and converted the copy to a zip, the original file cannot be retrieved.
- Open the doc in Word and Save As .docx. Note: This Zip Trick will not work if the file extension is .doc.
- In Windows explorer, change the file extension to .zip.
- A prompt will appear to verify you want to change the file name extension. Click Yes.
- Double-click on the .zip file to open it.
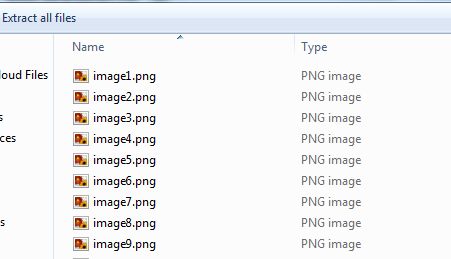
- Navigate to the Word/Media folder. Each image from the document will appear as a .PNG file. Image#.PNG – they will be ordered starting at 1 in the order they appear in the document.

Saving Document as a Web Page
- Open the document in Word.
- Click File, then Save As.
- In the Save As Type list, select Web Page (*.htm,*html). Do Not select Web Page Filtered, this will result in lower resolution images.
- Click Save.
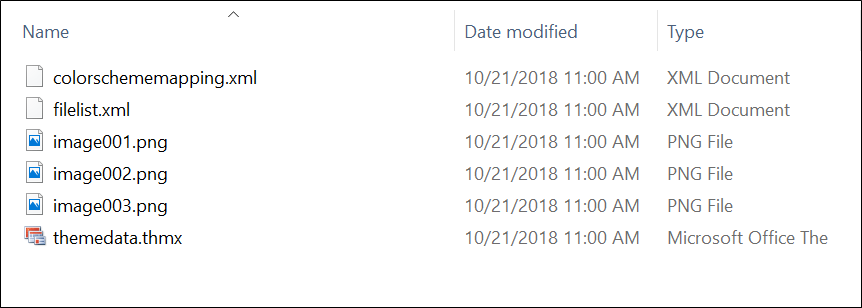
- Navigate to the save location and Open the Extracted Images_files folder. Each image from the document will appear as a .PNG file. Image#.PNG – they will be ordered starting at 1 in the order they appear in the document.
Importing Document to Help Authoring Tool
My standard Help authoring tool is Flare. These steps reflect that tool. It is possible to complete the same process with RoboHelp, with slightly different steps. While images can be extracted with this tool, it is the most complicated because it is necessary to have some familiarity with Flare. The Advantage in this method is that images will be named with the section/chapter they appear along with a number, rather than just Image#.png. This can make it easy to keep the images organized when there are many images and to possibly split the image work across multiple writers for edits.
- Open Flare and click the Project menu.
- Click Import, then MS Word Documents. The import wizard will open.
- Follow the wizard screens to create a project, select the Word document, new topic styles, options, stylesheet, paragraph and character mapping, then click Finish. The new topic styles setting determines the name of the files once extracted. For instance, if Heading 1 is selected to break to a new topic, the image names will be the name of the heading followed by a number, the order starting at 1 that the images appear in that heading section.
- Click Accept on the Accept Imported Documents popup.
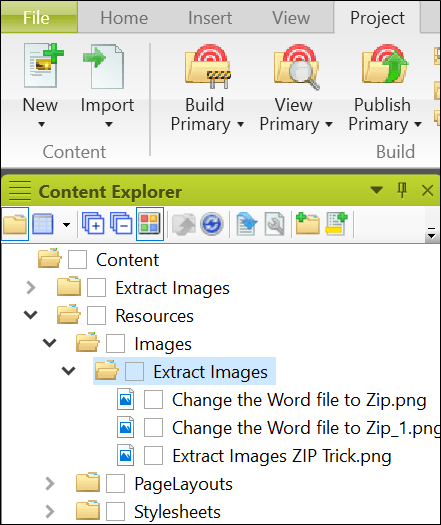
- Navigate to the Content/Resources/Images/[Document Name]. The images appear in a folder with the same name as the document. Remember, if a new topic style was chosen in the import wizard the images will have the name of the heading section they appear. Otherwise all images are given the name of the original document followed by a number.